How to Teach Musical Phrasing to Piano Students (With Help from a Magical Queen)
If you’ve ever wondered how to teach musical phrasing to piano students in a way that truly sticks—especially with your fairy-loving beginners—let me introduce you to Ginny.
Ginny adores all things girly. Princesses, ballerinas (she takes ballet herself), and sparkles? Yes, please. But when it came time to teach her about musical phrasing, my usual superhero metaphors fell flat.
That’s when The Musical, Magical Queen came to the rescue.
Learn from My Mistake: The Avoidable Teaching Misstep That Leads to “WOW” Piano Playing
I used to think every phrase should crescendo to the high note. That’s where the energy is, right?
But something always sounded… off.
It wasn’t until I attended a fantastic conference session with Peter Mack that I finally had my “aha” moment. He talked about the emotional arc of a phrase—and suddenly, everything clicked.
The High Note Isn’t Always the Climax
Sometimes, the high note lands on a weak beat.
It might be a passing tone or even part of a gentle descent meant to release tension, not build it.
That changed the way I listened—and the way I taught.
Now, I invite my students to listen first and analyze second. We don’t just follow the contour of a melody. We ask:
Where does the phrase want to go?
What kind of character does it have?
Where’s the real destination?
It’s not just technical. It’s emotional. It’s artistic. And it’s where the magic happens.
A Fun, Interactive Rhythm Game for Piano Lessons
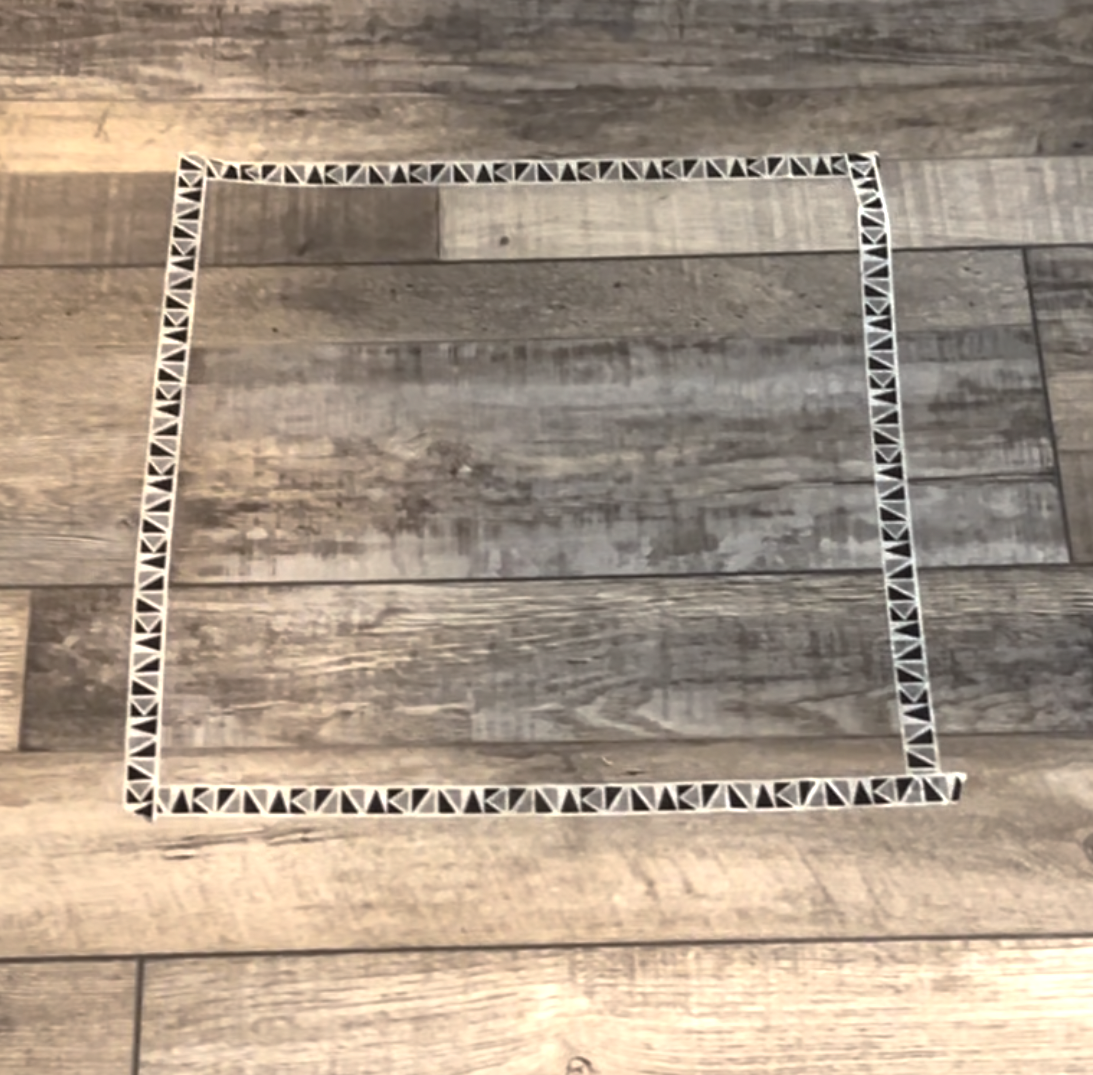
Yesterday, I worked with one of my beginner students who often struggles to hold her half notes for the full two beats. It's a common challenge with younger students, especially when they haven’t yet felt the rhythm in their bodies. For kids, understanding rhythm is much easier when they can experience it physically. That’s why I came up with a simple game that gets them moving, and it only requires a small amount of space and some washi tape.
3 Top Time Savers for Piano Teachers
Summer Camps for Music Studios!
Summer camps are amazing fun for both in-person and online studios! The best thing - once you have the lesson plans, you can use them over and over in many ways! Here are some ways I have used summer camps:
1). traditional - groups of kids at my house for 3, 4, or 5 days in a row. Usually my limit is 2 1/2 - 3 hours. Hats off to those of you who do longer camps!
2) online - same thing - but on Zoom. Small groups of kids log on for successive camp sessions. In one case - I did an hour and a half session in the morning, had a break for lunch, and came back for 30-45 minutes in the afternoon. That actually worked well. In all of my online camps, students had an "at-home kit" that contained lots of goodies they could manipulate and work with during the camp!
3)one-offs. This was a great way to promote my studio in the community. I held small mini-camps for one morning at my house or a local park. Great publicity and community building!


